Revamping Productivity: Journey of Turning My Outdated To-Do List Website into a Cutting-Edge PWA


Table of contents
In the fast-paced world we live in, staying organized and productive is key to achieving our goals. For years, I relied on my trusty old to-do list website to keep track of my tasks and deadlines. The foundation of my old to-do list website was simplicity and efficiency. Built on the concept of local storage, the website allowed individuals to store their tasks directly in their browsers. This ensured that your to-do list remained accessible across devices, with no need for creating accounts or worrying about data synchronization. However, as technology advanced and user expectations evolved, it became clear that my once-reliable tool was in dire need of a makeover.
Driven by a desire to embrace the latest web technologies and provide a seamless user experience, I embarked on a transformative journey to turn my outdated to-do list website into a cutting-edge Progressive Web App (PWA). This transition not only breathed new life into my productivity routine but also opened up a world of possibilities for enhanced functionality and cross-platform compatibility.
So, let's dive in and discover the incredible potential of transforming an outdated to-do list website into a cutting-edge PWA. Are you ready to revamp your productivity? Let's get started.
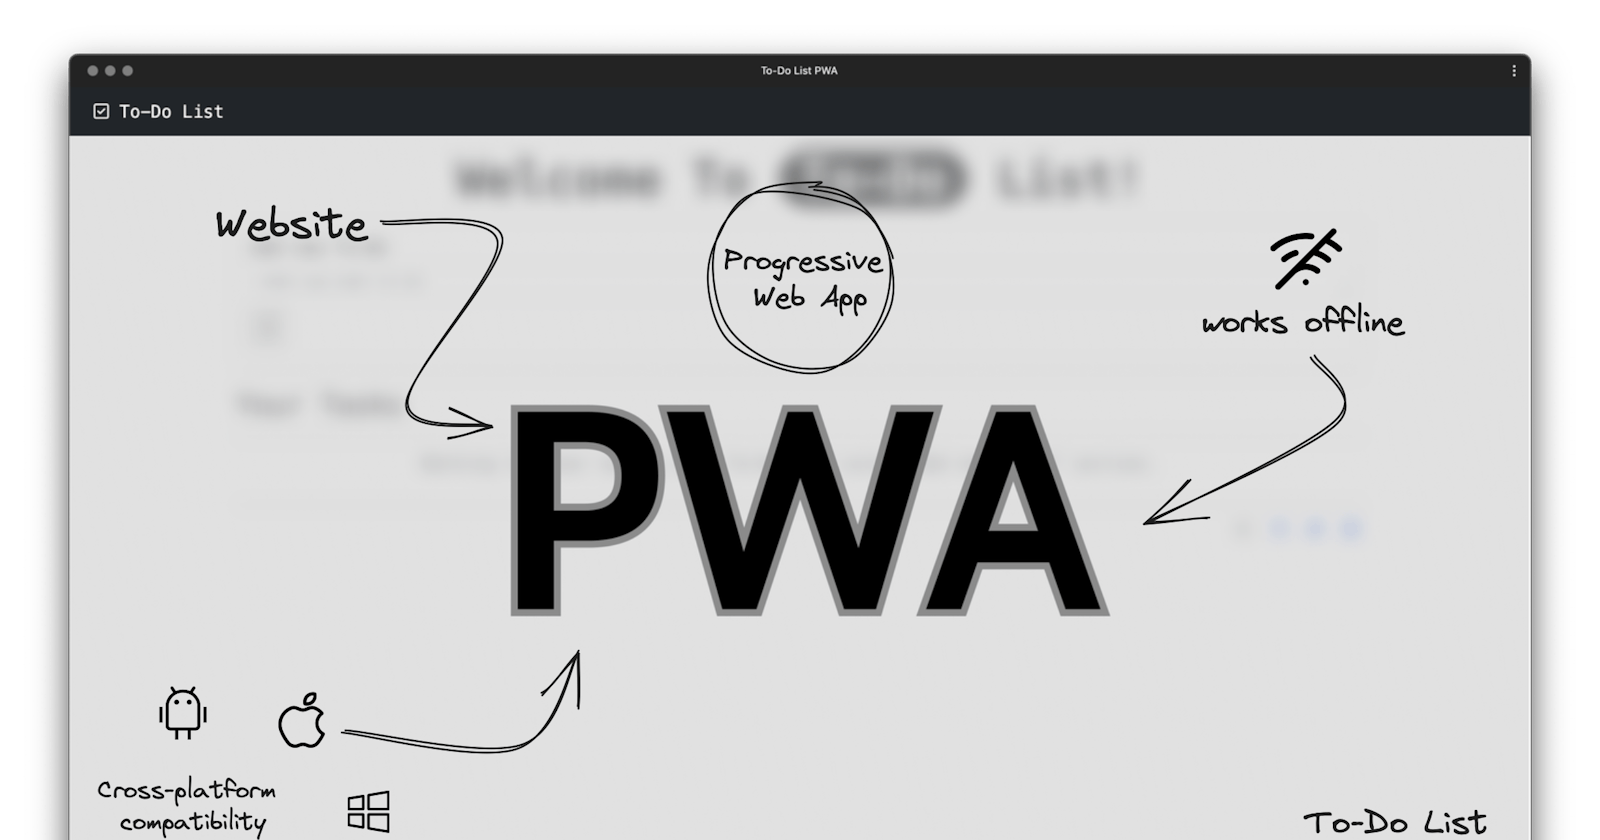
What are Progressive Web Apps (PWA)?
Progressive Web Apps (PWAs) are revolutionizing the way we interact with web applications. Combining the best of both worlds - the reach and accessibility of a website with the rich functionality of a native app - PWAs are the future of the web. Unlike traditional websites, PWAs offer a seamless and immersive user experience, enabling users to access them directly from their device's home screen, just like native apps. PWAs utilize modern web technologies such as service workers, push notifications, and offline caching to deliver fast, reliable, and engaging experiences across various devices and platforms. By leveraging the power of PWAs, we can bridge the gap between web and app experiences, creating highly performant and user-friendly applications.
Advantages of using PWA
The advantages of using Progressive Web Apps are:
Accessibility: PWAs can be accessed directly from a web browser, eliminating the need for users to download and install native apps. This makes the app easily available to a wider audience.
Cross-platform compatibility: PWAs work seamlessly across different platforms and devices, offering a consistent user experience regardless of the operating system or browser being used.
Offline functionality: PWAs can function even without an internet connection or with unreliable connectivity, allowing users to access the app and important content offline.
Improved performance: PWAs load quickly and deliver smooth interactions, providing a snappy and responsive user experience. They leverage features like caching and optimized resource handling to optimize performance.
Discoverability: PWAs are search engine-friendly and can be easily discovered through organic search results, making it easier for users to find and access the app directly through search engines.
Prerequisites for PWA
Before I explain the procedure I went through to revamp my To-Do List app. I would like to share the topics, which can be considered necessary before one converts their normal website to a PWA:
Basic understanding of Progressive Web Apps
Responsive Design
Service Workers
Promises
Web App Manifest
Google Workbox
Process of building PWA
The process of transforming my outdated to-do list into a Progressive Web App (PWA) began with a simple yet crucial step: cloning the repository of my old to-do list from GitHub and loading it into my computer. This allowed me to have a local copy of the existing codebase and served as the starting point for my PWA journey.
Adding required files
Once I had the project files at my disposal, the next step was to enhance the functionality and features of the to-do list by adding essential files such as serviceworker.js and manifest.json. The serviceworker.js file played a crucial role in enabling offline functionality and advanced features like caching and push notifications.
On the other hand, the manifest.json file allowed me to define the app's metadata and customize its appearance on the user's device. I specified important details such as the app's name, icons, colors, and display mode, ensuring a visually appealing and consistent experience for users across different platforms.
Linking the files
After adding the manifest.json file, the next step in the process was to link it to the HTML document. This was accomplished by adding a <link> tag within the <head> section of the index.html file.
<link rel="manifest" href="manifest.json" />
Once the manifest file was linked, the index.html file needed to be modified to include the script responsible for registering the service worker. This was achieved by adding a <script> tag just before the closing </body> tag. Within the <script> tag, I implemented the necessary code to check if the browser supported service workers. If the browser did support service workers, I proceeded to register the service worker using the navigator.serviceWorker.register() method.
<script>
      if ('serviceWorker' in navigator) {
        navigator.serviceWorker.register('./service-worker.js')
      }
</script>
Generating manifest.json file
After laying the groundwork, the next step in the process was to create the manifest.json file. To simplify this task, I utilized a manifest generator tool. By accessing the generator, I filled in the basic information required for the PWA, such as the app's name, short name, description, and start URL. Additionally, I uploaded the logo for the web app to get it in different resolutions, including 192x192 and 512x512 pixels.
Remember a few more details such as set the display mode in the web app manifest generator to either standalone or minimal ui or full screen and adding type and purpose attributes in the icons.
To complete this step, I copied the generated content and replaced the existing content in the manifest.json file with the newly generated content. This ensured that the manifest.json file contained accurate and up-to-date information about the PWA, including the logo images in the specified resolutions.
{
    "name": "To-Do List PWA",
    "short_name": "TODO List",
    "theme_color": "#1E2529",
    "background_color": "#fff",
    "display": "fullscreen",
    "scope": "/",
    "start_url": "/",
    "icons": [
        {
            "src": "512.png",
            "sizes": "512x512",
            "type": "image/png",
            "purpose": "any maskable"
        },
        {
            "src": "192.png",
            "sizes": "192x192",
            "type": "image/png",
            "purpose": "any maskable"
        }
    ]
}
Starting with Service Worker and Google Workbox
The next step in the process involved working on the serviceworker.js file to enable caching and leverage the capabilities of Google Workbox.
Google Workbox is a set of JavaScript libraries that simplifies the process of building Progressive Web Apps, particularly when it comes to caching and offline functionality. It provides a powerful toolbox for managing service workers and implementing caching strategies. To incorporate Workbox into the project, I utilized the importScript function to import the Workbox library from the Google CDN.
importScripts('https://storage.googleapis.com/workbox-cdn/releases/6.0.2/workbox-sw.js')
Once Workbox was imported, I proceeded to register a routing module in the serviceworker.js file. This routing module was responsible for matching all the image files within the PWA. Next, I determined the caching strategy for the image files. In this case, I chose the "Cache first" strategy. This meant that the service worker would first check the cache for the requested image file. If it found a match, it would serve the file from the cache. If the file wasn't found in the cache, the service worker would fetch it from the network and then store it in the cache for future requests.
workbox.routing.registerRoute(
    ({request}) => request.destination === 'image',
    new workbox.strategies.CacheFirst()
)
To test the PWA locally, I ran the command npm serve in the terminal.
Setting up SEO for the web app
To enhance the search engine optimization (SEO) and social media visibility of the web app, I proceeded to set up the Structured Data Markup and Open Graph Protocol by adding additional metadata inside the index.html file.
<meta charset="UTF-8">
<meta http-equiv="X-UA-Compatible" content="IE=edge">
<meta name="viewport" content="width=device-width, initial-scale=1.0">
<meta name="title" content="To-Do List PWA">
<meta name="description" content="PWa that allows to note down your task as to-do list and delete them when done.">
<meta name="keywords" content="To-Do List, Notes, List">
<meta name="robots" content="index, follow">
<meta http-equiv="Content-Type" content="text/html; charset=utf-8">
<meta name="language" content="English">
<meta name="author" content="Yash Tyagi">
<meta name="theme-color" content="#1E2529"/>
These tags ensure that the shared content is displayed accurately, including the app's title, description, image, and other relevant details. This helps to create a compelling and visually appealing preview when the app is shared on social media, increasing its visibility and engagement potential.
Setting up the PWA using Google Lighthouse
Once the web app started running, I proceeded to open the Chrome Developer Tools. Within the Developer Tools, I navigated to the Lighthouse tab, which provided a comprehensive analysis and performance report for the web app.
By running the Lighthouse report, I gained valuable insights into various aspects of the app's performance, accessibility, best practices, and search engine optimization. The report highlighted areas where improvements could be made to enhance the overall user experience and ensure the app adhered to industry standards.

After clicking the PWA button I can check whether my app is eligible to be a web app and after concluding all the installable conditions an install button will appear at the top, indicating that it is ready to be installed.
Conclusion
In conclusion, the journey of transforming my outdated to-do list website into a cutting-edge Progressive Web App (PWA) has been an exciting and rewarding experience. By leveraging the power of PWAs, I was able to enhance the functionality, performance, and offline capabilities of the app, ultimately improving productivity and user engagement.
If you'd like to experience the PWA for yourself, you can visit the To-Do List app and explore its features firsthand. It's a seamless and efficient way to manage your tasks and stay organized.
To further delve into the world of PWAs and expand your knowledge, I recommend exploring the following resources:
These resources will provide you with comprehensive insights and guidance on developing and optimizing PWAs, empowering you to create remarkable web experiences that blur the line between traditional websites and native applications.