Customize Your GitHub Profile: Tips and Tricks for a Standout Profile

I’m a react based frontend developer who knows UI/UX design and loves to draw and read.
If you work in today’s software development industry, you must have heard about or most probably worked with GitHub, which allows you to host your repositories and track changes you make. Nearly every open source project uses GitHub to manage its project which also allows collaboration freely. But you know what else it could be used for, showcasing your projects and skills to a potential employer.
But GitHub is kind of monotonous and non-interactive which makes it unattractive and to stand out from the crowd and you have to make your profile more attractive.
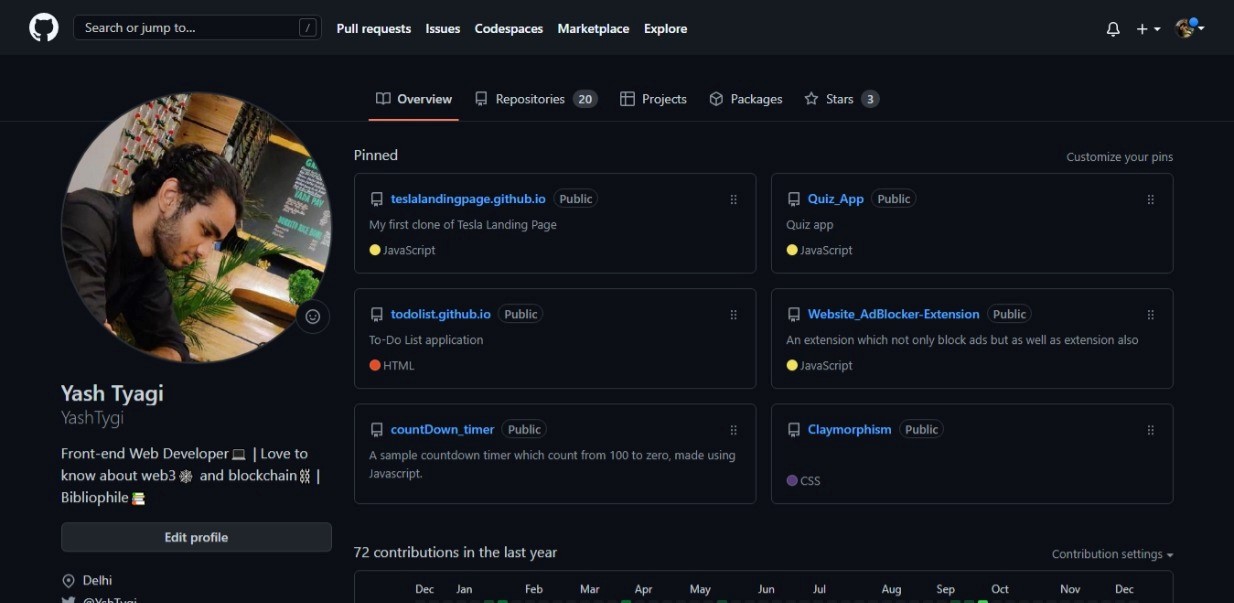
In this blog, I will tell you how I made my GitHub profile transition from this
To this

Initializing the repository and creating a Readme file
So let’s start by creating and initializing a new GitHub repository. By clicking the drop-down menu, select New repository in the upper-right corner of any page.
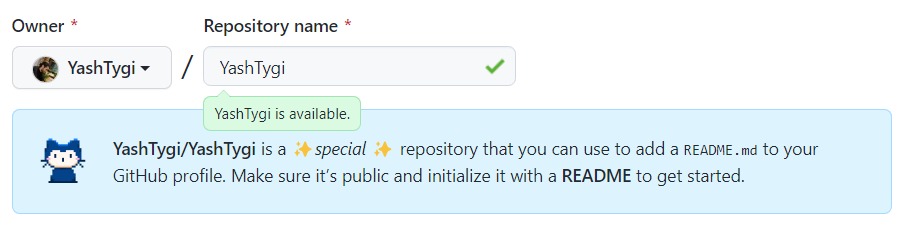
This is where the important steps come in. In the repository name, the input box writes your username instead of anything or your project name. Reason just like us GitHub also probably likes Easter eggs. GitHub introduced a secret, special repository.
The message that appears on GitHub after discovering the secret looks something like this:
You found a secret! USERNAME/USERNAME is a ✨ special ✨ repository that you can use to add a README.md to your GitHub profile. Make sure it’s public and initialize it with a README to get started.
For the second step create a Readme file by checking in the "Add a Readme File" box. This is where the magic happens as this readme file appears on the top of the content of your GitHub profile, the content you write in your readme file will appear in front of your GitHub profile.
### Hi there 👋

<!--
**torrocus/torrocus** is a ✨ _special_ ✨ repository because its `README.md` (this file) appears on your GitHub profile.

Here are some ideas to get you started:

- 🔭 I’m currently working on ...
- 🌱 I’m currently learning ...
- 👯 I’m looking to collaborate on ...
- 🤔 I’m looking for help with ...
- 💬 Ask me about ...
- 📫 How to reach me: ...
- 😄 Pronouns: ...
- ⚡ Fun fact: ...
→
By removing the comment tag, it will lead to something like this,

Readme Generator
You can use Readme Generators to write down a Bio readme for yourself. It helps you to figure out what to write so you don't have to think too much. Even if you want to add something more, you can edit it later on the Readme File.

There are many input containers to enter your information about starting with your name in the title and with a subtitle that contains information about yourself who you are and what you do, fill it out according to you.
The next inputs are about the work you are currently doing or projects or courses or frameworks you are learning and working on.
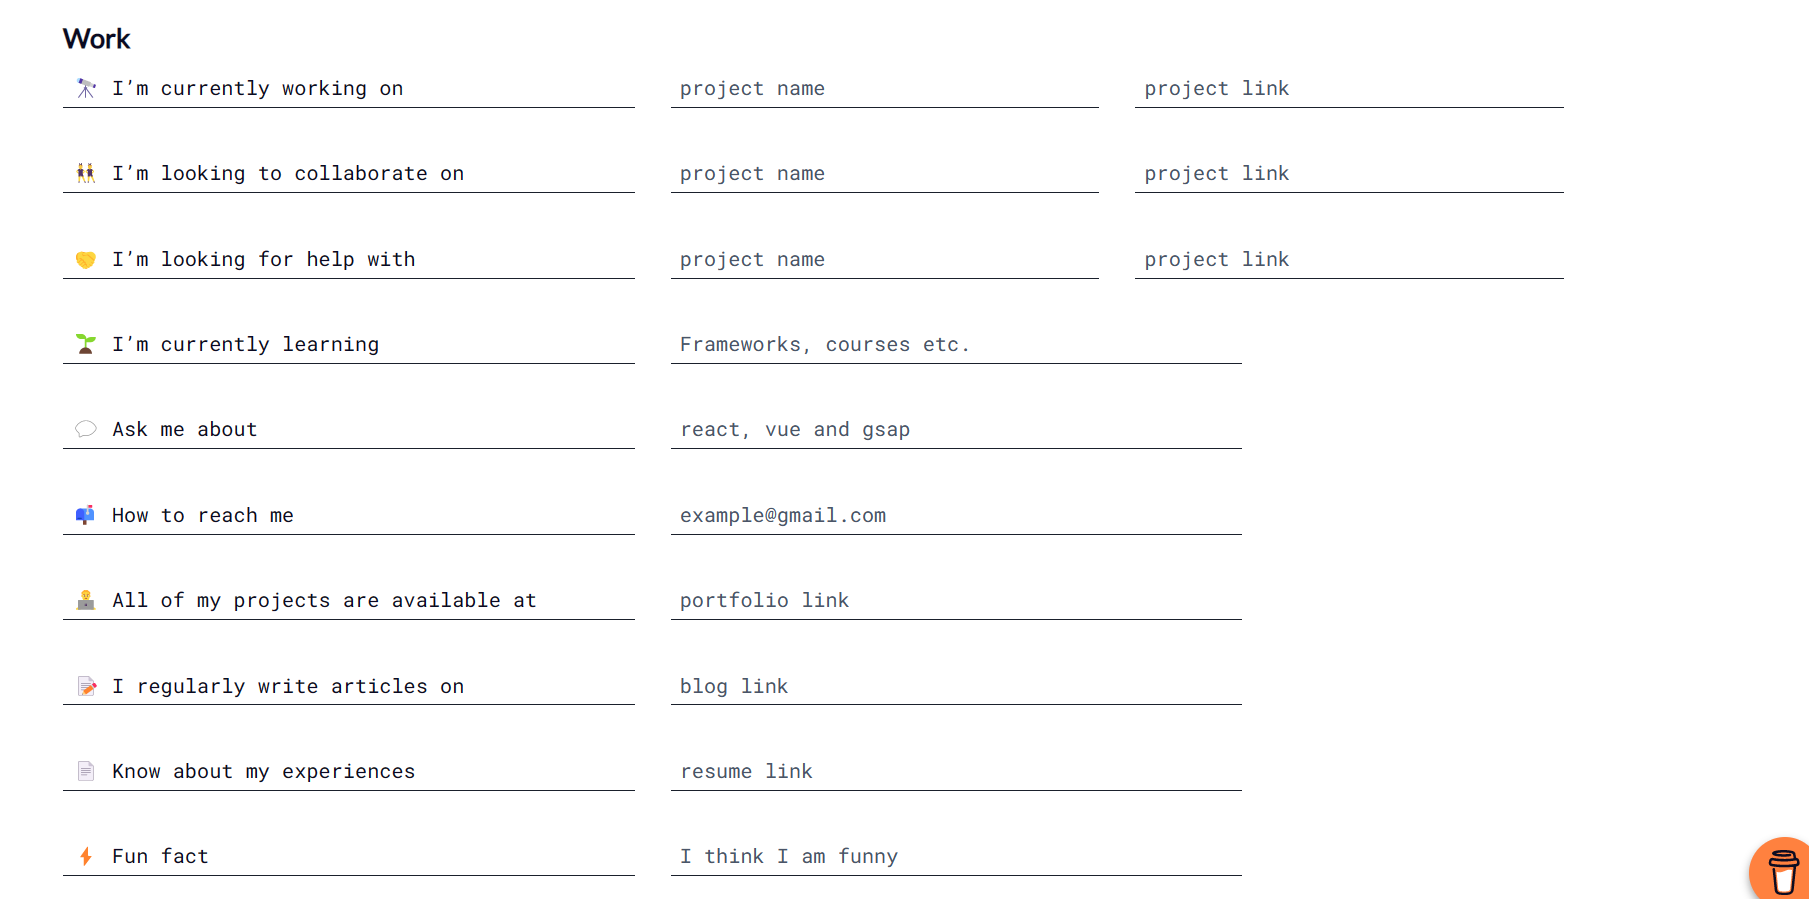
Then enter information about yourself, your portfolio and blog (if you write) and your resume and to add some fun elements you can add some of your fun facts in the FUN FACT input.
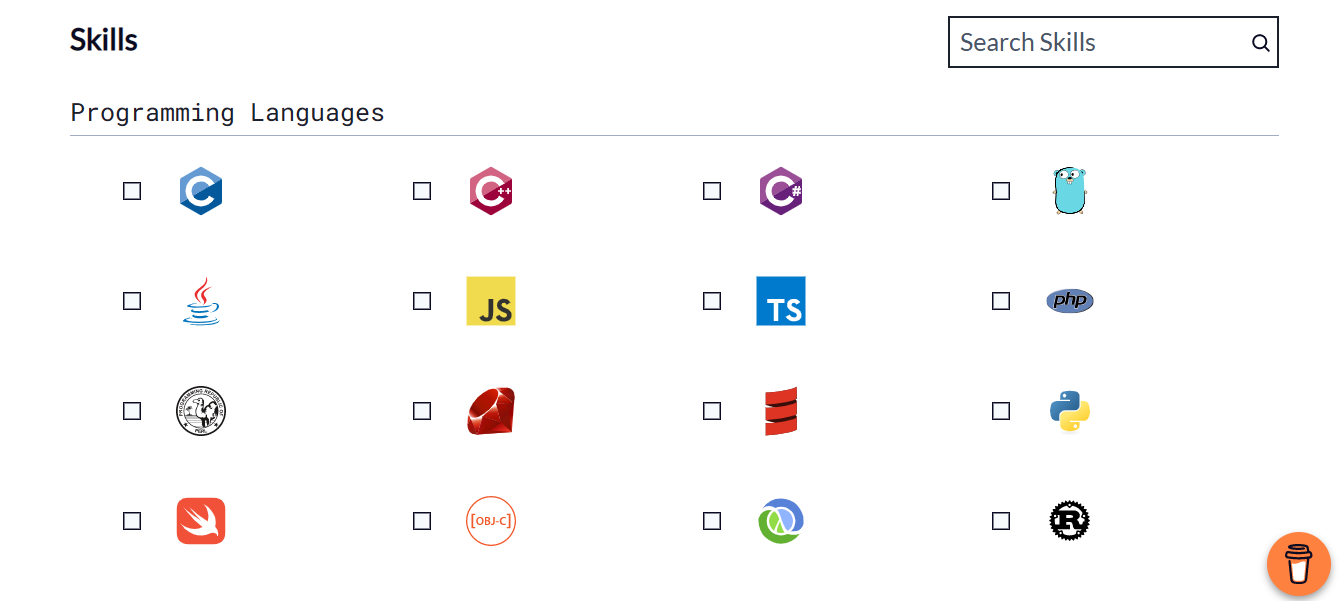
The Next section is about your skills and the language you use. Fill it out honestly without adding the language in which you only know how to run “Hello World”, just saying :)
It has different categories of languages as per their domain like frontend, backend, mobile app, data visualization, etc.
Lastly fill out your social address for someone to be able to find you on the net, making yourself visible. It is also a very important step as ……
Important links to fill out include GitHub, LinkedIn, Twitter and Instagram(if you post your work-related content there). You can also add links to other platforms like YouTube, Dev.to, and Facebook if you are active and post related content.
Add ons

The Readme generator provides some extra add-on features to enhance your profile more. A few you can make use of are:
Visitor Badge
GitHub Profile Stats Card
Top Skills
GitHub Streaks Stats
Twitter Badge
To add these add-ons just select the options you wanted to show in your Readme.
If you want to manually add some of these add-ons. Open your repository and then click the edit button on the top of your Readme File to edit out the changes you want.

<p><img align="left" src="https://github-readme-stats.vercel.app/api/top-langs?username=YOUR-USERNAME&show_icons=true&locale=en&layout=compact" alt="YOUR-USERNAME" /></p
Change the YOUR_USERNAME value to your GitHub username.
If you want to hide something, you can pass a query parameter &hide= to hide any specific stats with
comma-separated values.
Options: &hide=stars,commits,prs,issues,contribs
Showing icons
To enable icons, you can pass
&show_icons=true
in the query param, like so:
Themes
With inbuilt themes, you can customize the look of the card without doing any manual customization.
Use theme parameters like so :
&theme=THEME_NAME
GitHub readme stats comes with several built-in themes (e.g. dark, radical, merko, gruvbox, tokyonight, onedark, cobalt, synthwave, highcontrast, dracula).

Image or GIFS
If you want to add more of a personal touch you can add some gifs or images to your file just by using some HTML and CSS styles. Just paste the code below your heading line in your Readme File. You can also adjust the alignment accordingly to the center or right and replace the URL variable with the link of the image.
<img align="right" width="200" height="200" src="URL" alt="main_image" />
Conclusion
These we’re --- the tips that will guide you to customize your own GitHub profile to help you to stand out from others. I used these steps and find them very useful.
- Extra Tip: You can create your banner using Canva for free to make it more attractive and personalized.
Confused about how your design should look, click the (link) for the repository containing various GitHub profiles for inspiration and demo.
I hope this article is insightful and that you’ll get inspired by these GitHub profiles to create your customized profile.
Let me know if you got more tips in the comment section.

